Let the Beauty of what you Love be what you Do...
~Rumi
Showing posts with label lessons in non-attachment. Show all posts

Wednesday, March 28, 2012

Lessons in Non-Attachment the Clay Way

I've spoke of these lessons before~ you create, you may grow to love what you create, and then, sometimes... you have to let it go. It's all really very zen if you think about it. I started this Micaceous pot back in early Feb~ a "casserole dish for one." (Sometimes a regular size casserole is just a bit more than you really need!)


My Micaceous Class doesn't start 'til May... but what I am beginning to learn about myself is that my passion for clay knows no bounds, and while taking 2 classes & working certainly is enough... I can't seem to help from working on these pots & making the bears on the side. Which leaves precious little time for the other life stuff... but I digress. Back to the pot. Looks like a chocolate cake, doesn't it?
:)


Things were going along just fine, and I was fairly happy w/ the size & shape of it.


But, with clay, as is with life... timing is everything. I cut the lid before it was time... and as it was drying, it warped & cracked... rendering my lid useless.


But, you know me... I rarely give up (though sometimes perhaps I should!) So I figured I'd try making another lid. 


Now, keep in mind, the pot itself was already fairly dry, so trying to find the right size puki to build my lid in was a bit challenging considering I had to try to accommodate/guess about the shrinkage rate.


This was a good start. I figured I could go back & make repairs & fill in the gaps later to get a good lid fit. (Now that is one thing I love about Micaceous clay- the ability to make such repairs, or add handles, or fill cracks when the clay is in a dry state. You really can't get away with that w/ the commercially processed clays.)


Above, getting ready to add the handle, below the new lid & the original warped & cracked one.


Hmmm... well, I figured I could repair this crack, too... though it was in a risky spot~ at the bottom of the pot near where I had added my first coil.


I figured what the heck... I'll fill it (as I was in the process of doing in the pic above) sand it, polish it, burnish it... it'll be fine. But after speaking w/ my instructor, I found that these particular cracks are persnickety about repairs. They will often show up again as hairline cracks where the repairs are done- after they are fired... or worse, when on the stovetop. Soooooo, after all that work and all that time spent, I must say goodbye to this pot (and dang it~ note the much better lid fit!)


It only took a few minutes to return to the mud from which it started. It'll be recycled & mixed in w/ more clay to have life again as a new pot in the not-too-distant future. I do have one more pot this happened to, but I just couldn't quite throw it into the slop bucket yet! I may try firing it just to see what happens. It's all a learning process either way, so we'll see! And while the Clay will teach you these lessons in non- attachment over & over again... sometimes, well, you just cling to a special piece... not wanting to let go. I'm getting much better with this issue in my wheel throwing class-if it's not going the way I like, I have far less problems w/ recycling it, or if a potentially nice pot turns out crappy because of my glaze experimentations, I can generally let that go as well. I think the time involvement (many hours for one pot) is the reason I become so attached to the Mica Clay Pots, but perhaps in time, I'll learn to let that go, too.
:)

Tuesday, May 17, 2011

Home "Pit Fire"~ More Experimentations

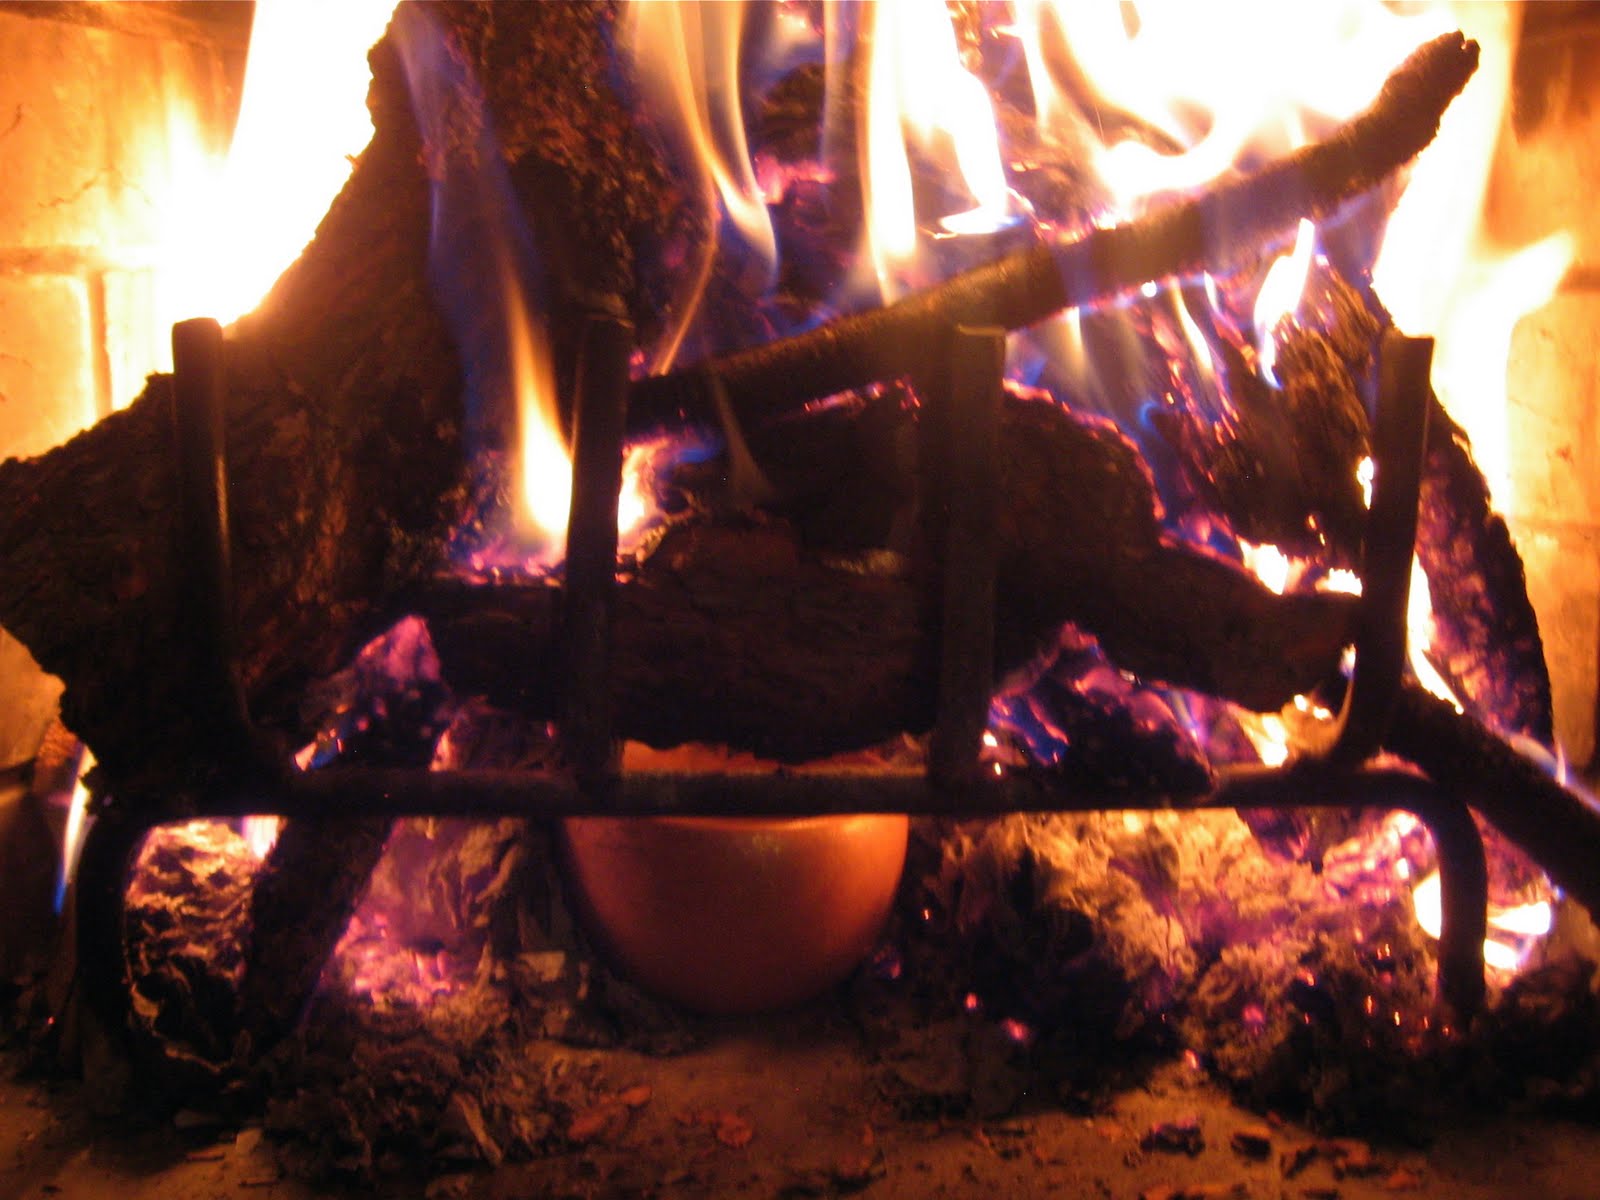
You may recall from a previous post the dilemma I'm having in my micaceous clay class. We were scheduled to have our big pit- fire this weekend, but due to our very dry weather, the fire hazard for an open outdoor firing is too high so it is postponed until??? While once the pieces are bisqued they are ready use, it is the pit fire that gives them the traditional smoke cloud. I talked to my instructor about doing a few pieces in my little fireplace at home, & he thought it could possibly work- so I gave it a shot. 
There's a bowl & a pot burning away in that pile of wood, & you can see the mug under the grate.


Interesting results, but I don't think I'd do it this way again. The mug didn't get hot enough to achieve a smoke cloud, but rather an all over smokey look.


My bean pot... hmmmm, it turned out ok, but the backside got a little too smoky in my opinion.


My last piece~ a large salad bowl, I thought turned out rather nice.


But alas, the salad bowl was not meant to be. I carried it to school today in a bag full of potluck goodies, which I knocked against my car while grabbing another armful of things... and, well, you guessed it, knocked a chunk of the top! :( Dang it!!   And yes, I do admit I did utter a few choice words just a little stronger than that! But to me, working with clay  is always a lesson in non- attachment. Things break, can blow in the kiln, or you can ruin an otherwise awesome piece by choosing the wrong glaze, (or trying to do a pit fire in your fireplace.)  But it's hard not to be attached to the micaceous pieces, because they are so labor intensive. While I am getting a litter faster, each pot can take me at least 5 hours from start to finish! Our last class is friday and I'm still not sure exactly what I'll do about the real pit fire, but I do have some ideas percolating. We did do a Raku firing of a few pieces last week, which I thought turned out pretty cool... I'll share the results soon!
:)

Friday, March 4, 2011

Fixing What's Broken


Well, my big cartoon bear didn't make it through the bisque fire. Interesting though, the way the chunk of him popped off. I expected perhaps he'd crack or something... rather than lose a chunk. When I opened the kiln, there it was... a chunk just lying there... all nondramatic-like! I did feel my heart sink... but it was for only a brief moment...this is just what happens in the clay game when you're learning. (Not to mention when you're trying out new clays,& trying to go bigger than you have the skill level for!)


When I built him, I recall having to add clay to the inside in certain areas where the slabs felt too thin. It looks as though I trapped some air or moisture in between the two slabs... and my slipping & scoring looks poor upon examination. I couldn't see giving him the heave-ho, just because I can't glaze & fire... so I decided to patch him up. 


I used a little E-600 industrial strength glue to put him back together, then a little outdoor paint. 


You can still see the outline of the crack on the top, but that honestly doesn't bother me. I may or may not add a bit more texture, but definitely he'll need some sealant to finish him off. Now, if I just had a yard & a garden, I'd put him in it!
