Let the Beauty of what you Love be what you Do...
~Rumi
Showing posts with label clay pots. Show all posts

Tuesday, October 16, 2012

Evolution of a Pot

I am not generally one to add abstract designs to my pots, but for whatever reason, on this particular day, I decided to give it a go. I have to admit, I was not happy with it at first & I was sooooo tempted to recycle it when it was in it's wet state, but a few people in class said some things that made me decide to keep it.


I cut the lid just after the photo above, and the pot began it's drying process.


Unfortunately, this is what happened as it dried~ the lid & pot dried in different directions.


I don't know why this happens exactly, but I find when I make lidded pots w/ the Micaceous Clay, the lids tend to warp. It doesn't happen every time, but I'd say with me, it happens about 1/2 the time. I've tried drying the lid with the pot, drying the lid upside down with support, and then a combination of the two. I think it is just the unpredictability of working with real, honest to goodness natural, directly "of the earth" clay. Or maybe it's just me! But I digress. This presented a challenge, and it seems I am always up for one (ha ha) so I figured I'd give it a go at repairing it.


That is one thing I love about working with Micaceous Clay... you can do repairs when it is bone dry... something you cannot easily do with commercially processed "regular" clays. It is, however, a rather tedious process. I started with water scraping & sanding down the high points. Then I began the slow process of rebuilding the rim by wetting the pot & very gradually adding more clay. You can only add a teeny bit at a time, then you must let it dry, and repeat this step over & over until it comes close to fitting.


Then you must sand, adjust, add more clay if needed. I worked on this pot little by little over the course of several weeks.


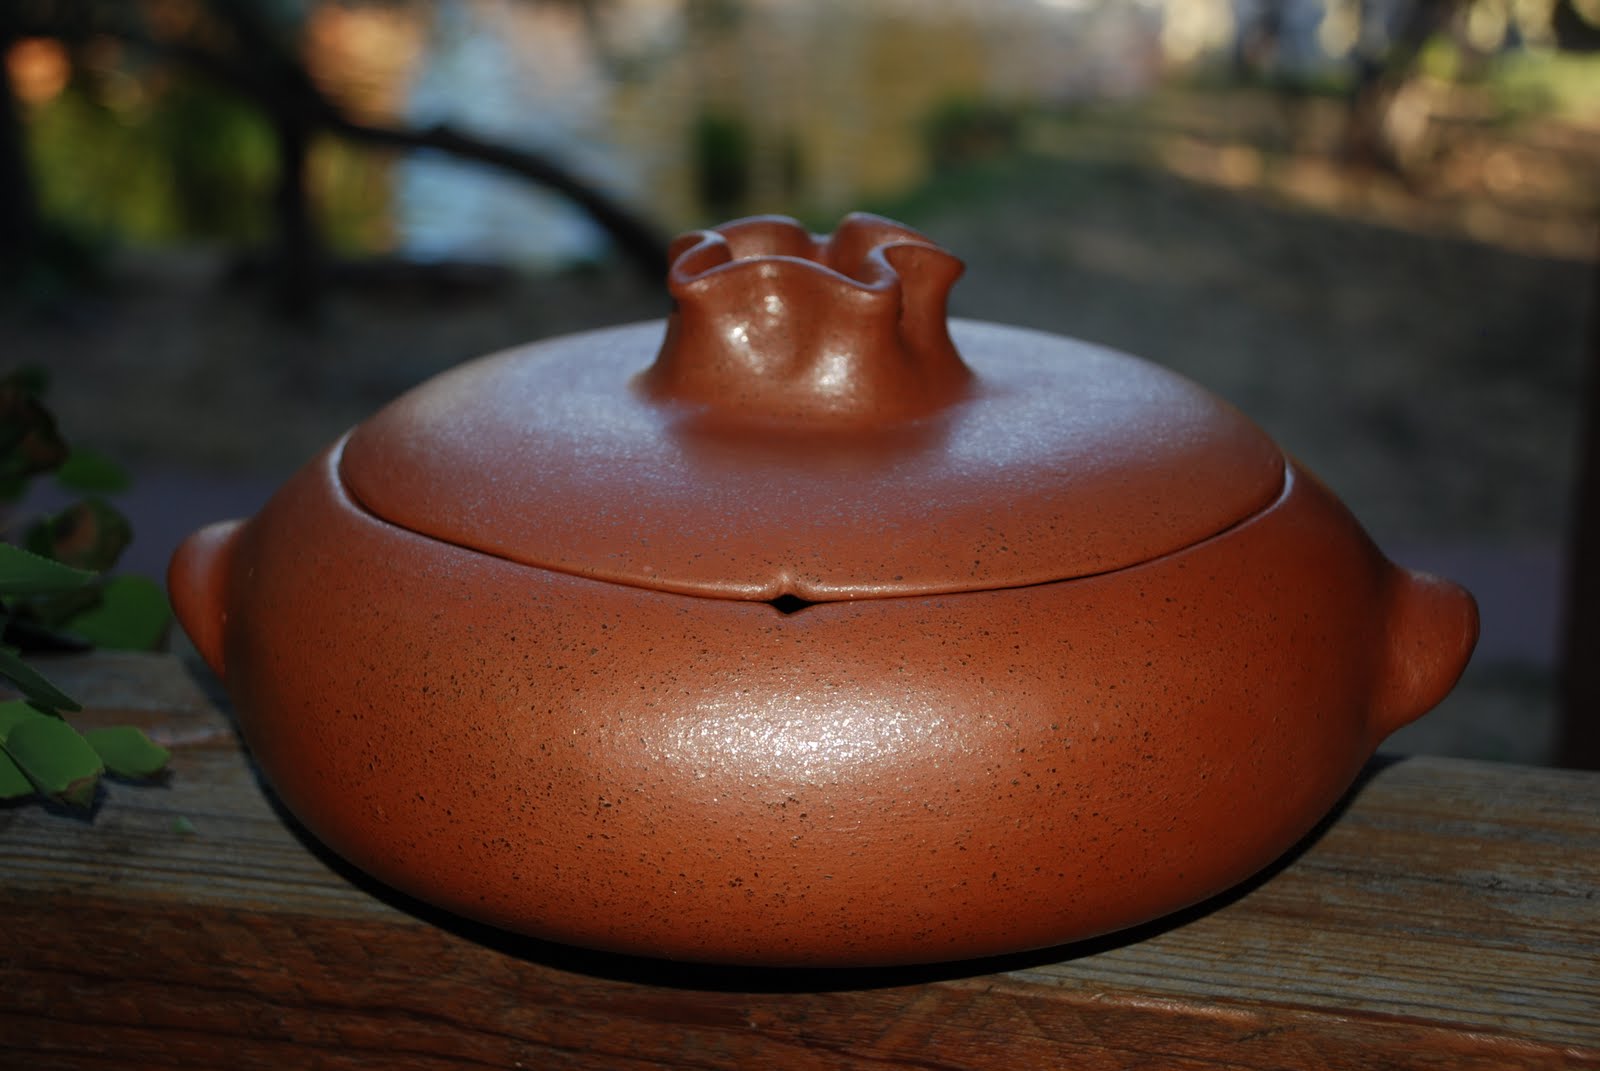
Here it is after all that work~ all sanded & ready to polish. The lid fit was not quite perfect (I am a stickler for the perfect lid fit!) but pretty close. I figured it was as close as I was going to get.


Polished pot with a fine Micaceous Slip. At this point it went into the bisque & awaited the final firing. I knew with this pot, I would want to do Raku for the 2nd firing, and as luck would have it, we did 2 Raku firings on the last day of class! Yay!
Below are the results.
:)

"Evolution Pot"
Hand dug Micaceous Clay
Hand Coiled, Sculpted, Scraped, Sanded, Polished.
Low Fire Bisque/Raku/Reduced

*Double Click on any Photo for greater detail :)


I've included many angles, as I do, to show the delicious effects of the Raku firing on Micaceous Clay. I'm in love with Raku & reducing pots... I find the effects to be simply wonderful! The lid did warp just the tiniest bit during the final firing... just enough so that again the lid does not fit just perfectly. But with clay, just as with life, things aren't alway perfect... & sometimes those little imperfections are what make life more interesting.
:)

** We just finished firing the rest of our Micaceous Pots this weekend... I'll post the results just as soon as I have time to photograph them properly!


Monday, June 4, 2012

Tales from an Apartment Dwelling Potter

While my clay classes at the College are finished for the Semester, I am not certainly not finished with clay!  I am now back to hand building Micaceous Clay Pots... which is why on any given day off from work, my apartment may look like this~


or this~

Mixing & Wedging Clay
 or this!


That is the nice thing about hand coiling pots, or doing clay sculpture work. While it would be great to have a real studio, if you are determined enough & are willing to deal with the mess & clean up involved, you can make it work in a fairly small space... in my case, it's my kitchen.


But luckily, I have another place to learn & work, because as it turns out, just as my classes were finishing up at the Community College, my  Micaceous Clay instructor was offering a clay class at his studio in Tijeras, NM. I've been spending my Saturdays there, and then trying to put into practice what I'm learning in my little "Kitchen Studio" back at home.


Above, my first pot from class. (In the drying stage. Keep in mind, all these pots are all Raw, needing several stages of scraping, sanding, burnishing/polishing & firing before they are finished!)


For my second pot, I chose to make a casserole. They are pretty challenging for me, so I  was pretty excited about this one!


Until I flipped it over for drying & this happened~ Arrrrggh! I've never had a pot crack this humongously before!
Bummer.
But! A perfect opportunity to test out what I like to call "The Apartment Dwellers Clay Recycle System." 


I had another pot to recycle as well. (During the drying stage, it had developed a very small but critical crack near the bottom of the pot.)


After a bit, it looked like this.


In goes the cracked casserole.


I smashed it into pieces & let it soak in water.


Over the next several days, I stirred it & let it soak... pouring off the excess water at the top.


I then transferred it to an old pillow case, and lined a clay box with a trash bag, so that the excess moisture wouldn't make a huge mess all over the floor. After several days of flipping it, it still was not getting dry enough, so I transferred it to another pillow case- this one split open to increase the surface area to air ratio. 


I put it outside in the dry summer air... keeping an eye on it & turning/mixing it as needed. Is this exciting stuff, or what?!


 Soon enough it was back to the right consistency & I wedged it back up as you see above...

Recycled Clay Pot

and gave it new life in the form of a bean pot.
:)
I also made another casserole to replace the one that didn't make it.


Pics before & after the handle is added.


This time it dried fine except for a crack in the lid where the handle was added, but that can be repaired, which I am working on now.


Another bean pot...
(I cut the rim down significantly from what is shown here.)


and another.
:)


This pot I made w/ the help of my instructor last saturday. It's a fluted casserole dish, and I find the form to be quite lovely. I found it so lovely in fact, that I made another one today! Getting over my attachment to every piece, I also recycled another pot today. It was a little on the thick side, & I decided I wasn't really crazy about the shape, sooooo...


After a few hard thunks on concrete, and a little hammering action... back into the bucket it goes.


It'll be interesting to see what this one turns into after the recycle process!
:)


Wednesday, March 28, 2012

Lessons in Non-Attachment the Clay Way

I've spoke of these lessons before~ you create, you may grow to love what you create, and then, sometimes... you have to let it go. It's all really very zen if you think about it. I started this Micaceous pot back in early Feb~ a "casserole dish for one." (Sometimes a regular size casserole is just a bit more than you really need!)


My Micaceous Class doesn't start 'til May... but what I am beginning to learn about myself is that my passion for clay knows no bounds, and while taking 2 classes & working certainly is enough... I can't seem to help from working on these pots & making the bears on the side. Which leaves precious little time for the other life stuff... but I digress. Back to the pot. Looks like a chocolate cake, doesn't it?
:)


Things were going along just fine, and I was fairly happy w/ the size & shape of it.


But, with clay, as is with life... timing is everything. I cut the lid before it was time... and as it was drying, it warped & cracked... rendering my lid useless.


But, you know me... I rarely give up (though sometimes perhaps I should!) So I figured I'd try making another lid. 


Now, keep in mind, the pot itself was already fairly dry, so trying to find the right size puki to build my lid in was a bit challenging considering I had to try to accommodate/guess about the shrinkage rate.


This was a good start. I figured I could go back & make repairs & fill in the gaps later to get a good lid fit. (Now that is one thing I love about Micaceous clay- the ability to make such repairs, or add handles, or fill cracks when the clay is in a dry state. You really can't get away with that w/ the commercially processed clays.)


Above, getting ready to add the handle, below the new lid & the original warped & cracked one.


Hmmm... well, I figured I could repair this crack, too... though it was in a risky spot~ at the bottom of the pot near where I had added my first coil.


I figured what the heck... I'll fill it (as I was in the process of doing in the pic above) sand it, polish it, burnish it... it'll be fine. But after speaking w/ my instructor, I found that these particular cracks are persnickety about repairs. They will often show up again as hairline cracks where the repairs are done- after they are fired... or worse, when on the stovetop. Soooooo, after all that work and all that time spent, I must say goodbye to this pot (and dang it~ note the much better lid fit!)


It only took a few minutes to return to the mud from which it started. It'll be recycled & mixed in w/ more clay to have life again as a new pot in the not-too-distant future. I do have one more pot this happened to, but I just couldn't quite throw it into the slop bucket yet! I may try firing it just to see what happens. It's all a learning process either way, so we'll see! And while the Clay will teach you these lessons in non- attachment over & over again... sometimes, well, you just cling to a special piece... not wanting to let go. I'm getting much better with this issue in my wheel throwing class-if it's not going the way I like, I have far less problems w/ recycling it, or if a potentially nice pot turns out crappy because of my glaze experimentations, I can generally let that go as well. I think the time involvement (many hours for one pot) is the reason I become so attached to the Mica Clay Pots, but perhaps in time, I'll learn to let that go, too.
:)

Friday, May 27, 2011

Just a few pots from the end of the semester~ and in case you were wondering Potsplosions do happen!


Just showing a couple of finished pots from the end of the semester in my Micaceous Clay class~

Bean Pot

Large Salad Bowl

Salad Bowl~ Aerial View :)

Casserole Dish- Bisqued, but not Smoke Fired yet~ kinda funky handle!


And last but not least- just to show that Potsplosions do happen! And yes, that just happens to be my pot!  Now, I've seen pots crack... but I've never seen anything like this where the pot literally pulverizes... have you?!? I do have some theories (air bubble, clay not completely dry on the inside) but still I've never seen something quite like this. It made for some serious kiln vacuuming! All in all though, I've had a really good semester. There were a few issues with the commercial clay I was using (some trouble with the slip bubbling & popping off with testing the final pots on the stovetop, and some issues w/ fragility.) But the commercial clay company had switched the source & recipe... though I have heard they are switching back to the previous clay which I have used before without difficulty. Another remedy for next semester (YES! I am taking this class again!) is that I will try to use only natural clay, hand dug in the mountains of Northern New Mexico. It's a lot more pricey $100 per 50 pounds vs $16 for the commercial, but I think the pay off will be worth it! I do have one more project I was working on when the semester ended ( a larger wolf pup sculpture) but I didn't get a chance to fire it, though I am hoping to do so when the summer semester starts~ even though I won't be able to take classes this summer. Wish me luck & hope for no explosions~ I have had it sitting in my living room for the past week & have grown quite attached to it! Now that the semester has ended, I am back to working like crazy &  my family is visiting soon, so I'll be quite busy, but I'll post & visit when I can! Happy Summer, Everyone, & thanks for stopping by!
:)