Let the Beauty of what you Love be what you Do...
~Rumi
Showing posts with label handbuilding. Show all posts

Friday, December 7, 2012

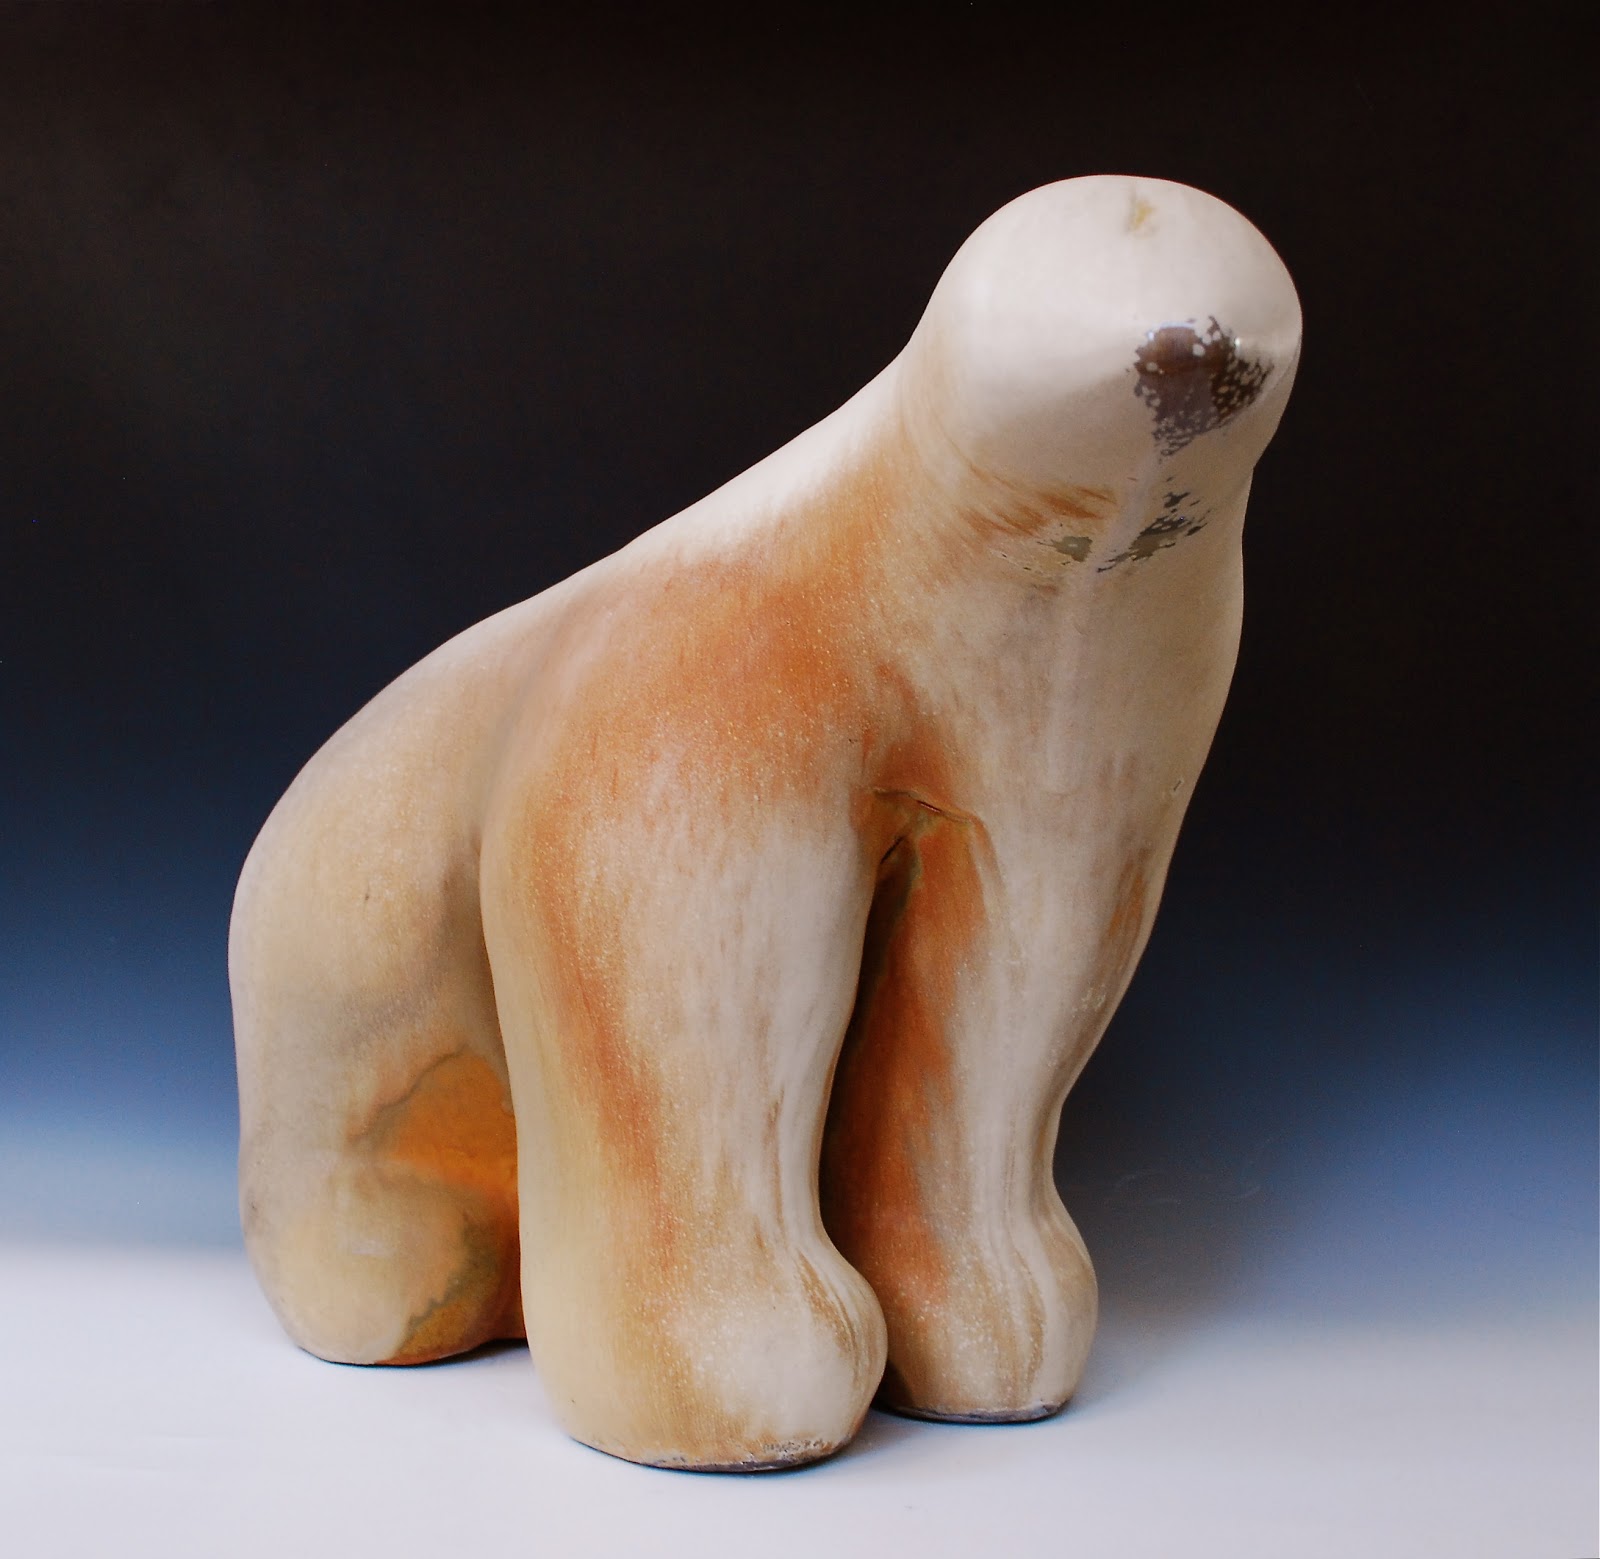
Cracks Happen... # 3 in the Polar Series


#3 of the larger Polar Bear Series- Coiled Piece
Ann's Soda Clay Body~ Soda Fired to Cone 11
Dimensions~ H:16"  W: 10.5"   L: 22.5"

If you had read my last post, you know this was exactly what I was worried about. It seems the larger I go w/ the bears, the more apt they are to crack during the final firing in the Soda Kiln. I  thought about it a lot & spoke w/ my instructors about why this is happening. (oh, also note the back foot... one of my friends cups was stuck to it when it came out of the kiln.)


I believe several things are happening. 
One, the clay I am using is more of a throwing clay vs a sculptural clay. When I build small to medium, the clay body can handle it, but when I go bigger & add all the twists & turns that I do, I am not sure this clay body can take it. (Though I know people do large scale porcelain work- so that kind throws that theory out, but I plan on testing several grittier sculptural clays next semester.) Related to this also, I believe, is the fact that the Soda Kiln can heat unevenly- the bottom can be around cone 9, while the top (such as in our last firing) was around cone 13... perhaps the Ann's Soda Cone 10 clay body does not like that much heat!
Two, perhaps I am drying the clay too fast. Once a sculpture is finished, I have not been covering it & letting it dry slowly... I simply uncover it & let it dry. Though, on the smaller pieces, that was not an issue... I'd often let them sit outside in the dry NM fall weather where the humidity was quite low- which literally sucked the moisture out.
Three, (and I think this could be one of the main issues) because I only make 4 pencil sized holes on the bottom for venting, the outside of the sculpture is drying MUCH faster than the inside. 
My Resolutions & what I will be working on next semester~

1)Testing various sculptural Clay Bodies in this large format.
2.) Drying pieces very slowly!
3.) Placing larger & more vent holes on the bottom of the piece.
4.) Building slower than I already do... covering the outside of the piece & allowing more air to get to the inside before closing.
( I invite commentary or suggestion on these issues!)
Here are a few more views. This was the first bear done w/ a batch of freshly mixed glaze... so I was glad to know that I had the right recipe from glaze calc last semester & mixed it properly. Despite all the cracking on this piece, I am still totally in love w/ this glaze!

Close up of the glaze where it crystalized over the neck & nose of the piece.


Below is # 4 in the Polar Bear Series. (No, I don't count "The Beast," which was a bear -no pun intended- of a project... to me, it does not fit w/ this series, nor do the smaller versions.)

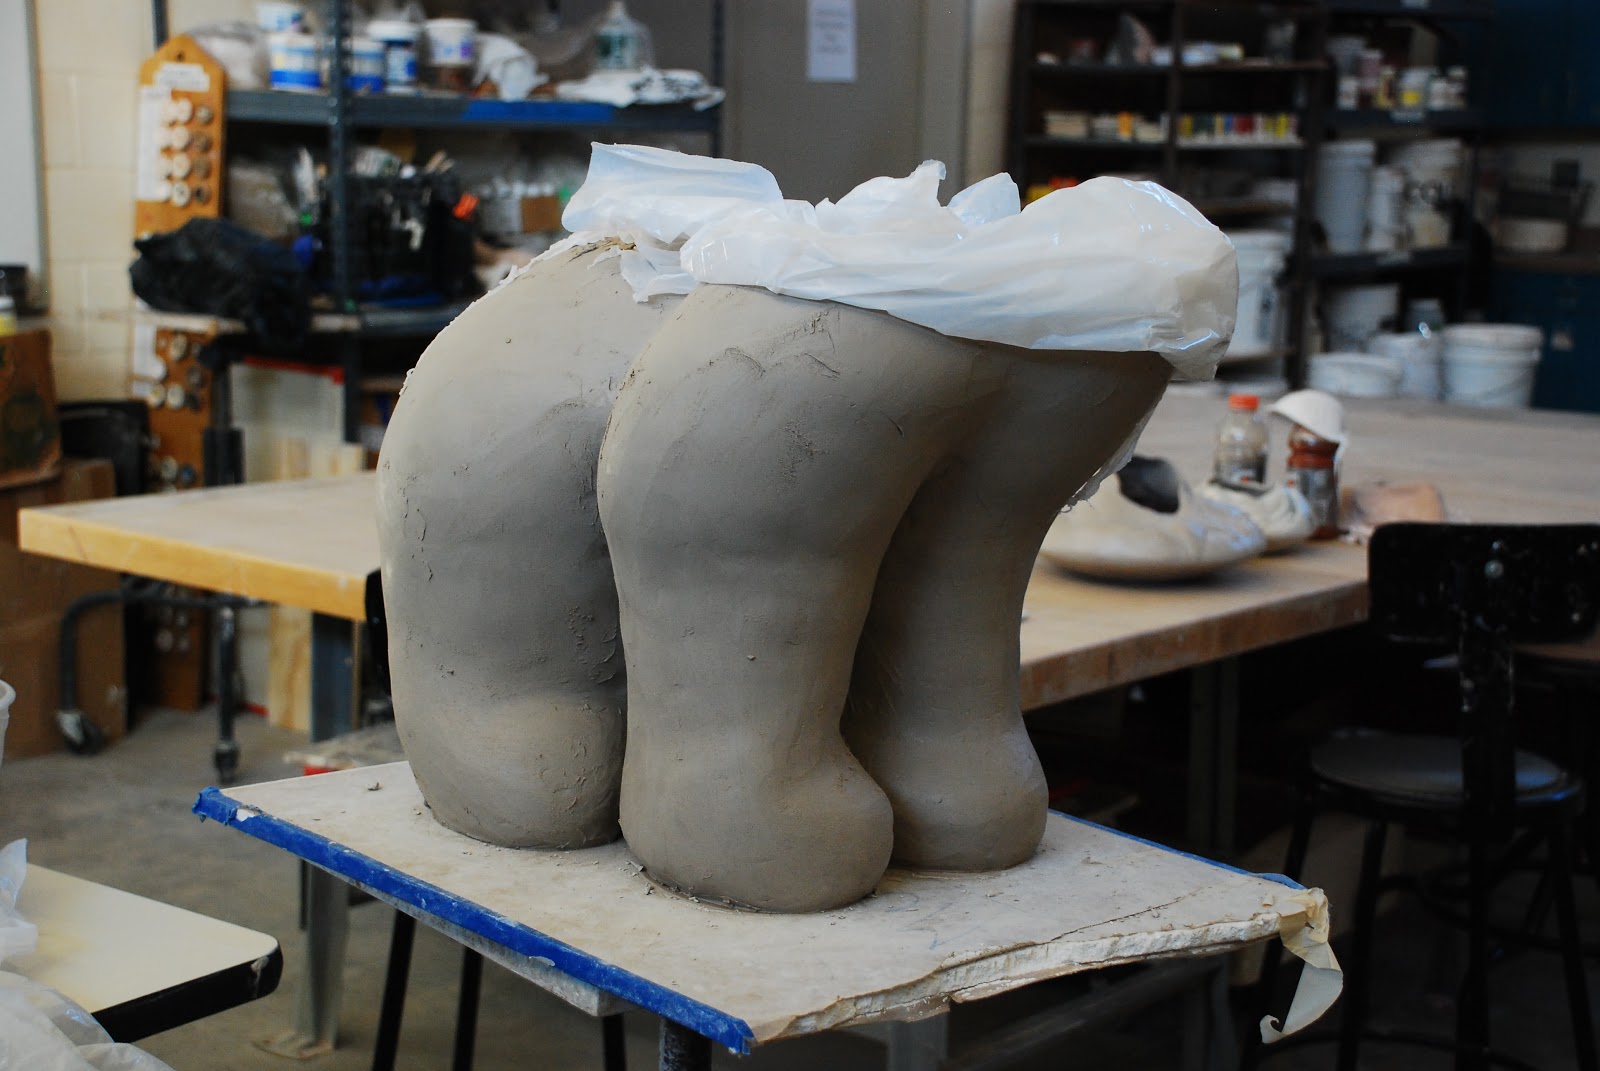


I finished him up about a month ago & he has been through the bisque kiln w/ only minimal cracking. He is larger than all the others- wet measurements were 23 inches tall, 20 inches long & 14 inches wide. I was afraid that if I glazed him up & put him in the Soda Kiln, he'd just crack up like # 3. Actually I am very certain of this. He'll be in storage over winter break until I decide whether to go for it & begin to learn about post- production crack repair, or maybe leave him in the bisqued state & do some sort of "cold surface" treatment like painting and/or staining.
In other clay news, our Community College Clay Club Sale was a success! We had some 39 clay students that participated & brought in just over $14,000 in combined sales! 40% goes to the clay club (for things like advertising, bringing in outside artists for demos, rebuilding of the beloved soda kiln & so forth,) 60% to individual artists. Below is my table of... you guessed it...  pots & bears.
:)


 While I myself did not get rich, (ha ha) I did bring in about $680 which would translate to about $400 after 40% to the clay club... which, considering it was my first sale~  was not at all bad. Although the hours were long (about 11 hours each day for 2 days,) & I was quite exhausted by the end... I think overall it was a good experience- it provided some exposure for my art, and it was fun to be a part of this larger clay community event. (It also generated some post sale sales from co- workers, which is awesome!) Special thanks to my instructors & the Clay Clubbers for putting on this event... there's a lot that goes on behind the scenes to make it all happen, and thanks to all who stopped by to say hello & purchase a pot & a bear or two!
I've just finished for the semester & am back to working full time through the holidays AND I'll be moving yet again... so I don't know if I'll be blogging much for a while... though I'll try to get out w/ my camera for an evening walk or two... I love all the lights & farolitos up around town this time of year. I promise to share if I do. 
:)
Happy December! May it be a peaceful one.
:) 


Wednesday, September 5, 2012

Belated Mica Clay Class Results :)

I know... Finally!!
Though my class ended in July...  I'm just getting around to posting my pots from the Micaceous Clay class I took this Spring/Summer at my instructor's studio. (What can I say... it's been a busy summer!)
There were only a couple of us in class, so I really feel I learned a lot this time around & I was really pleased with the way this group of pots turned out. I'm not going to post all the pics of process & production (though I am all about process... it would just make for too many photographs... you'll just have to trust my words... these hand coiled pots are extremely labor intensive!) I am settling instead for showing you some of the pots as they are coming out of the fire, during testing & a few "studio' shots at the end.
:)


Pots being fired above, and fresh out of the fire below.


Above, most of the fired pots, though a couple were still in reduction. (To reduce the pot, you take it out of the fire & place in a closed receptacle like a metal trash can, along with sawdust & newspaper. It ignites immediately & when the lid is closed it starves the air of oxygen, and the result is a blackened pot.)


Once my pots are home, I test them all to make sure they all hold & boil water. I have to admit, I am kind of in love with these pots! First off, in my humble opinion, they are just gorgeous! Secondly they are a highly functional piece of fine art. And thirdly, cooking in a pot you made yourself is just, well... cool, let's face it.
...
As you know I like to document, so I wanted to "professionally" photograph each pot, as it helps me keep a visual log from where I started in clay, to where I'm at skill wise, as well as to identify areas in which I need improvement. Problem is, I don't have the proper lighting set up, so this can be a challenge. 


The traditional orangish pots w/ the smoke clouds photographed alright, but I had trouble getting the color & focus right on the blackened pots. They do look much more beautiful in person, and my photographs don't do them justice, but at least you get the gist of them.


 I was unable to get them all photographed in this fashion, as I left for California soon after these pots were fired, and I took several with me to be given as gifts to friends & family.
...
On a side note, yes, I am enrolled in another Micaceous Class this fall. This will be my 4th class in Micaceous... so I think it is fair to say that I am in love with this clay. While the labor intensity is beyond what I've experienced using other types of clays & other methods... I'm telling you, it all becomes worth it when you see the pots come out of the fire.
:)
I also wanted to give another special thanks to my Micaceous Clay Instructor/Mentor Brian Grossnickle, who won't be teaching at SFCC this time around. Thanks so much for sharing all your knowledge & expertise so openly with your students... and for firing our pots so beautifully. I always will keep in mind that "Symmetry is overrated," (though I am sure I will still strive for it!) and will try my best not to be a limp wristed potter :)
You will be missed!


Monday, June 4, 2012

Tales from an Apartment Dwelling Potter

While my clay classes at the College are finished for the Semester, I am not certainly not finished with clay!  I am now back to hand building Micaceous Clay Pots... which is why on any given day off from work, my apartment may look like this~


or this~

Mixing & Wedging Clay
 or this!


That is the nice thing about hand coiling pots, or doing clay sculpture work. While it would be great to have a real studio, if you are determined enough & are willing to deal with the mess & clean up involved, you can make it work in a fairly small space... in my case, it's my kitchen.


But luckily, I have another place to learn & work, because as it turns out, just as my classes were finishing up at the Community College, my  Micaceous Clay instructor was offering a clay class at his studio in Tijeras, NM. I've been spending my Saturdays there, and then trying to put into practice what I'm learning in my little "Kitchen Studio" back at home.


Above, my first pot from class. (In the drying stage. Keep in mind, all these pots are all Raw, needing several stages of scraping, sanding, burnishing/polishing & firing before they are finished!)


For my second pot, I chose to make a casserole. They are pretty challenging for me, so I  was pretty excited about this one!


Until I flipped it over for drying & this happened~ Arrrrggh! I've never had a pot crack this humongously before!
Bummer.
But! A perfect opportunity to test out what I like to call "The Apartment Dwellers Clay Recycle System." 


I had another pot to recycle as well. (During the drying stage, it had developed a very small but critical crack near the bottom of the pot.)


After a bit, it looked like this.


In goes the cracked casserole.


I smashed it into pieces & let it soak in water.


Over the next several days, I stirred it & let it soak... pouring off the excess water at the top.


I then transferred it to an old pillow case, and lined a clay box with a trash bag, so that the excess moisture wouldn't make a huge mess all over the floor. After several days of flipping it, it still was not getting dry enough, so I transferred it to another pillow case- this one split open to increase the surface area to air ratio. 


I put it outside in the dry summer air... keeping an eye on it & turning/mixing it as needed. Is this exciting stuff, or what?!


 Soon enough it was back to the right consistency & I wedged it back up as you see above...

Recycled Clay Pot

and gave it new life in the form of a bean pot.
:)
I also made another casserole to replace the one that didn't make it.


Pics before & after the handle is added.


This time it dried fine except for a crack in the lid where the handle was added, but that can be repaired, which I am working on now.


Another bean pot...
(I cut the rim down significantly from what is shown here.)


and another.
:)


This pot I made w/ the help of my instructor last saturday. It's a fluted casserole dish, and I find the form to be quite lovely. I found it so lovely in fact, that I made another one today! Getting over my attachment to every piece, I also recycled another pot today. It was a little on the thick side, & I decided I wasn't really crazy about the shape, sooooo...


After a few hard thunks on concrete, and a little hammering action... back into the bucket it goes.


It'll be interesting to see what this one turns into after the recycle process!
:)


Wednesday, November 23, 2011

Still Playing in Clay :)

Nope, I haven't stopped working in clay since my last class ended... I just haven't been doing as much documentation in process as I normally do. I picked up a short 7 week class at Santa Fe Clay here in town. It's actually a wheel throwing class, but I had some leftover bags of cone 10 clay in my closet, so I've been doing some hand building at home, too.


Still making bears.... :)


Setting up the clay station in my apartment is rather messy... still dreaming of my own studio someday, but I suppose I've gotta make do until then.


Looks like a bear migration, doesn't it? I find them fun & relaxing to make.
:)


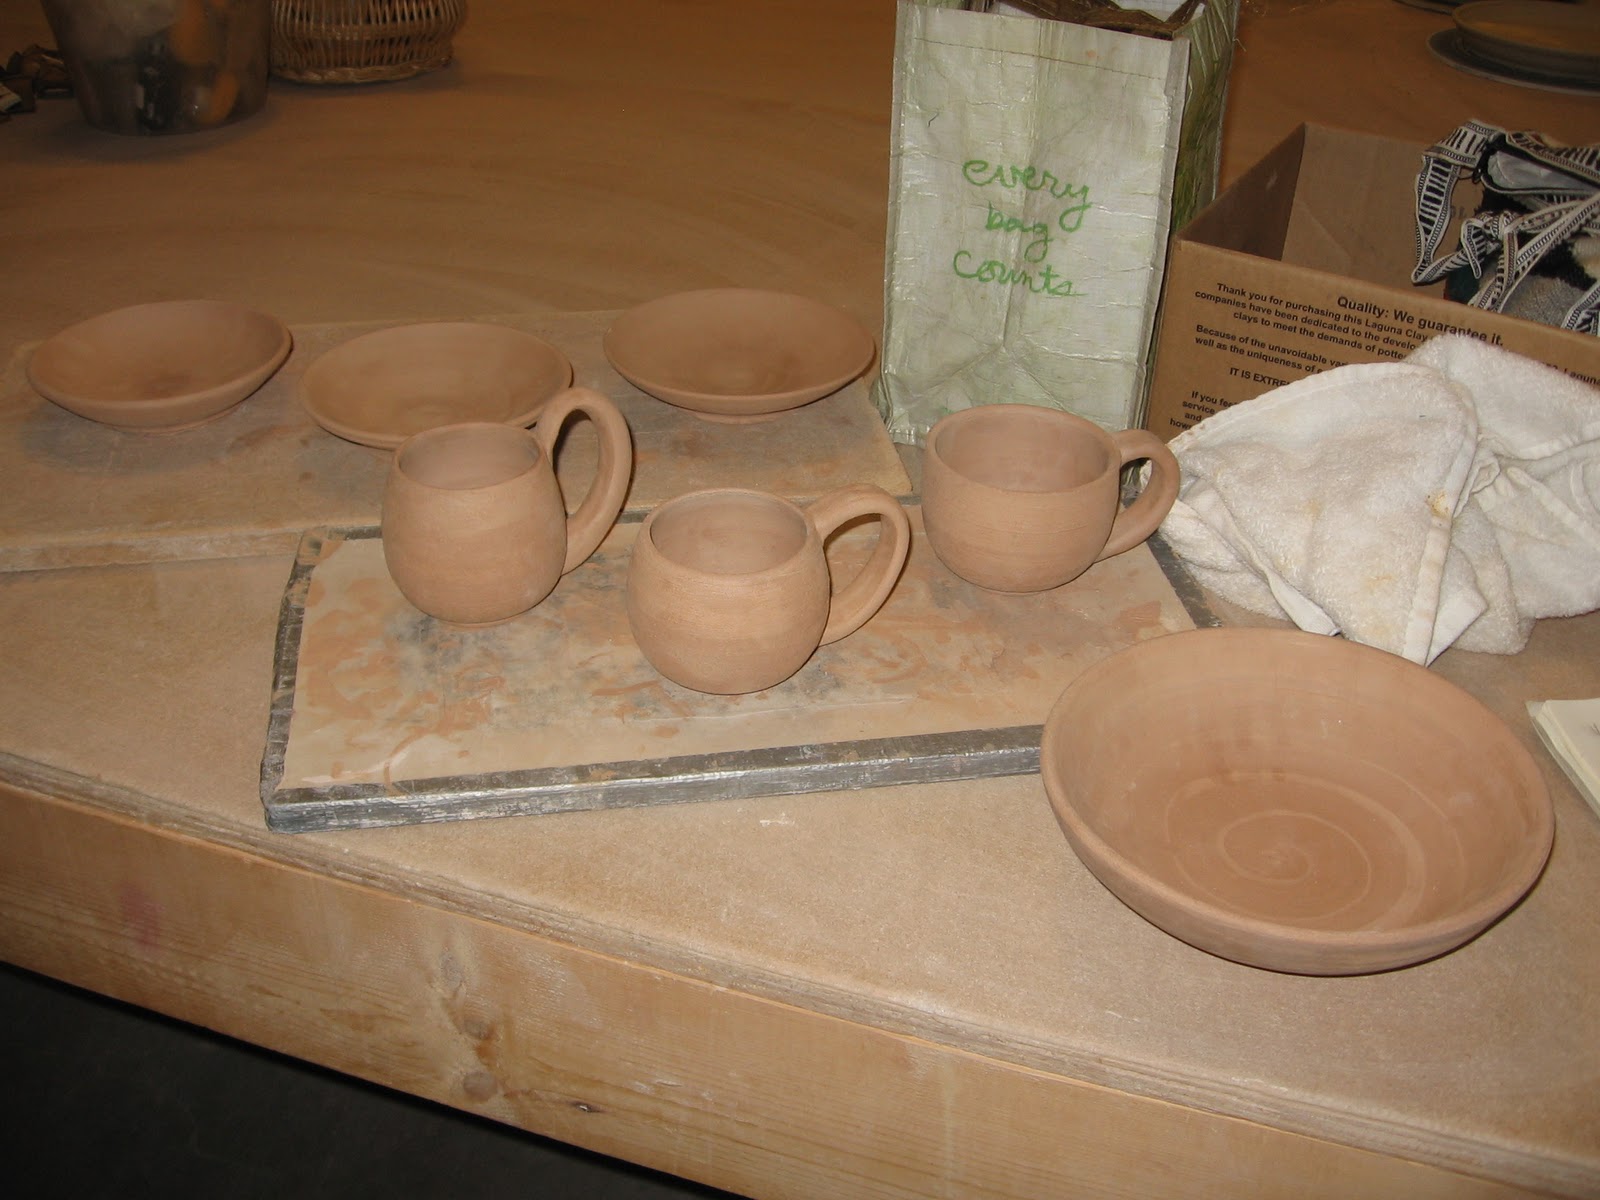
In class, I've mainly been working on mugs & bowls.


The 3 shallow bowls in the back are Puki's which I'll use as a base when I get back to Micaceous clay. Though I tend to gravitate towards darker clay bodies, I've been experimenting with lighter clays, too.


I threw these last week... it's funny because when I sat down at the wheel, my original intention was to try to throw identical cylinders, but I found it much more fun to experiment w/ different shapes.


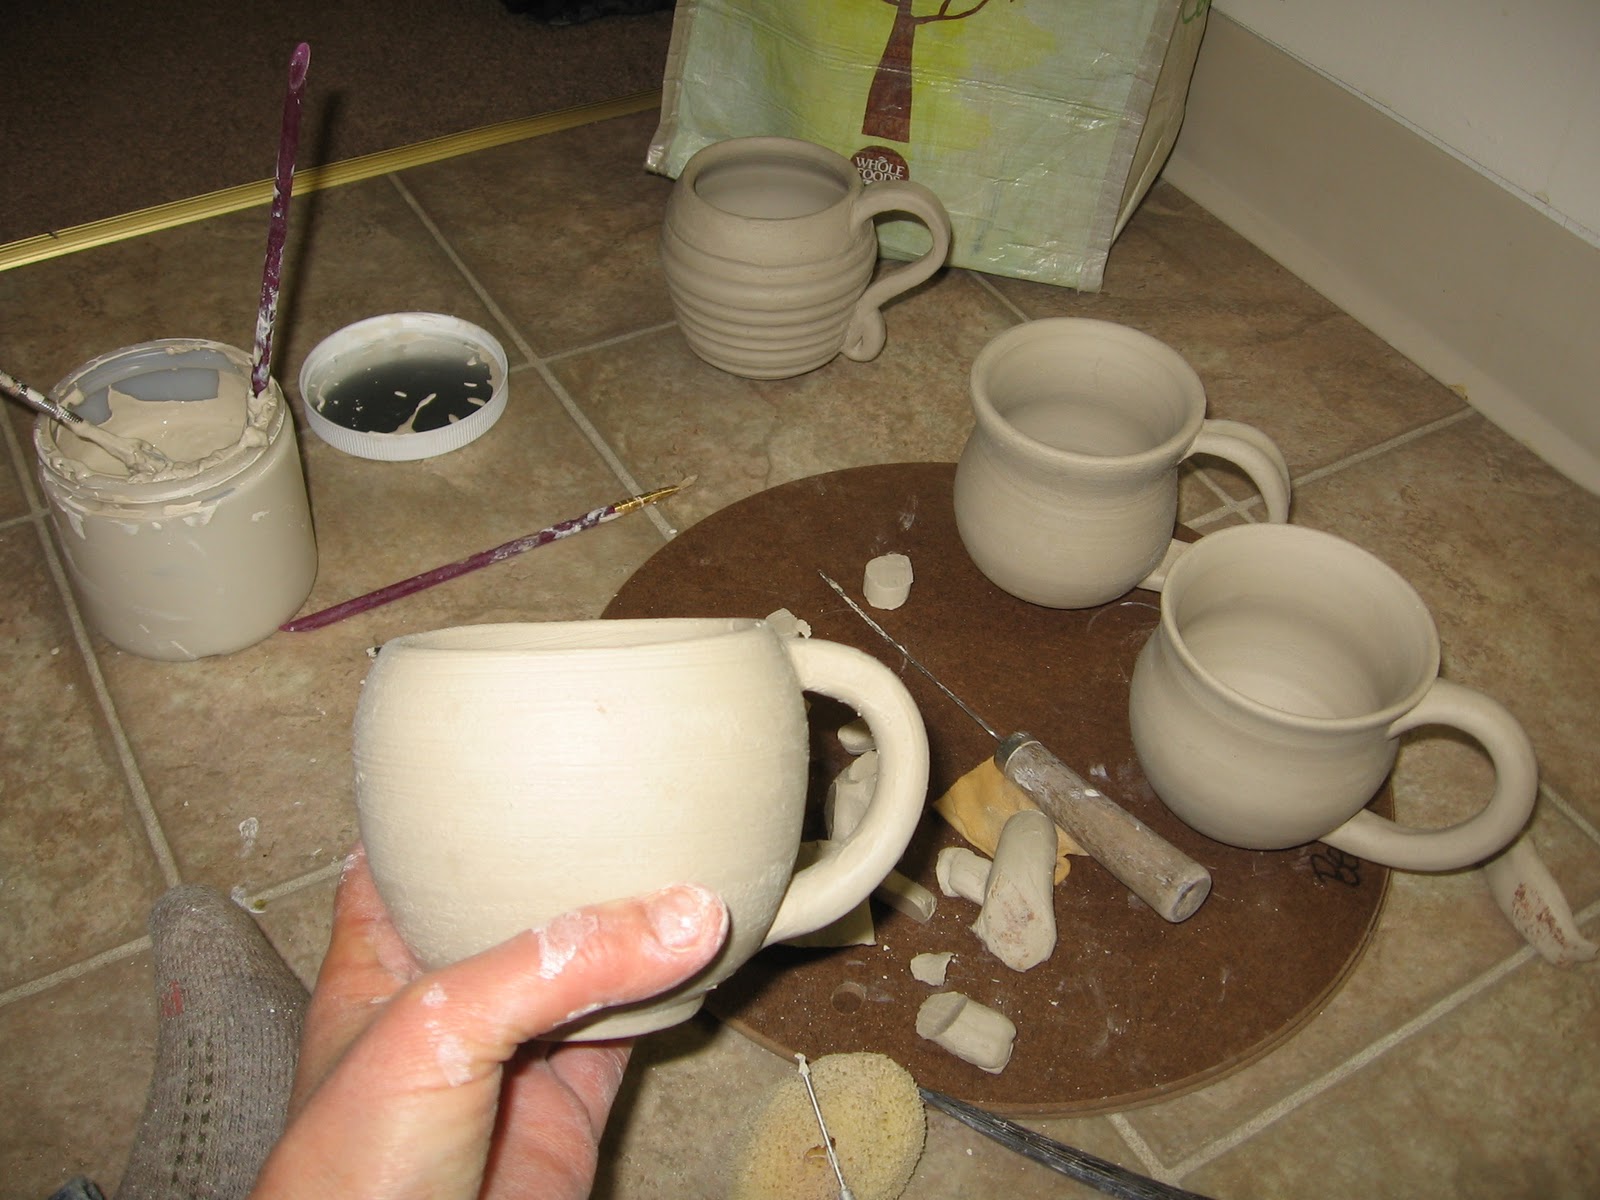
Handles!


What generally happens, regardless of the fact that I spend all day in the studio on the day of class... is that I run out of time with what ever I'm working on, and either need to triple wrap them to keep them moist until I can get into the studio again... or take them home & work on them there.


Once the handles are made, they generally dry rather quickly, so in this case, I decided to take them home & finish them up that night.


Below~ another bear I made after work one night. I've decided to leave him a little rough & see how he fires up w/ a clear or two toned glaze.


So, that's what I've been up to. I've got the day off today & I don't know how many bowls/mugs that should be out of the bisque & ready to glaze. I haven't got any finished work back yet... but had a few glazed bowls on the rack last week awaiting the final firing, so we'll see!
:)
p.s.~ Happy Thanksgiving! I'll be working, which is actually a good thing...