Let the Beauty of what you Love be what you Do...
~Rumi

Friday, April 22, 2011

Have Pots, Will Travel.

Due to the Easter holiday, we didn't have class today... but I really needed to get to work on the water scraping & sanding of my pots! Sooooo, I packed them all up yesterday, loaded them in the car, and today I headed over to a friend's house who was so kind as to let me borrow his outdoor space as I have no place to work outside at my place, and it's just not something you can do indoors. (Though I could start scraping & sanding in the parking lot of my apartment complex... but I don't feel like explaining to my neighbors what the heck I'm doing!)

My work station~


It was all going well for the first couple of hours... but as you may or may not know, it is our "windy season" here in Santa Fe, and those winds will come up out of nowhere & blow & blow & blow! It was so calm this morning, I didn't even think to check the weather! This is me trying to work in the wind. (I checked the weather after I got home- winds out of the west @ 28 to 32 mph!) My hair is being held down by my dust mask, but if you look closely you can see how the wind looks to be blowing right into my face ('cause it was!) So, rather than the clay dust settling around me as I scraped, it was literally just getting blown back at me! Arrrrrgh!


So, back into the trunk they go.
:(


Now they are home in my ever shrinking apartment (full of pots & 1/2 finished sculptures) which is getting harder to keep clean & organized! Ah, what we will do in the pursuit of our artistic dreams...

Sunday, April 17, 2011

Just Playing...

Did you ever have one of those days when you had a list a mile long of things you needed to get done, but just couldn't fathom doing it? Yeah, today was like that. After a particularly grueling day at work yesterday, I woke this morning not feeling like doing anything "productive," so I put aside all the things that I "needed to do" and just allowed myself to do the only thing I felt like doing~ which was to play in clay. Putting bears aside for the time being, I've decided to start trying to make wolves. Here's the first one~


Which turned into two~

Which turned into three!

Then I tried to go a bit bigger...


Running low on clay, I went hollow & stuffed w/ paper for support.


Eventually it turned into this rather abstract wolf-form. Though it looks a little fox like, and the ears more than a little cat like!


The whole wolf family!


 It's funny~ when doing animal heads I've noticed there is a very fine line between wolf, bear, fox, cat, dog, anteater, seal, cow, pig... you name it. The wolf pup heads have gone through some of those transitions, and I'm sure you can see the resemblance to at least 2 of the animals mentioned! They were really fun to make though, and I really needed that today.
:)

Wednesday, April 13, 2011

Latest PIP... Pot in Progress!


Coiling~


Shaping~


And before you know it~ a pot!


You've seen the others... I meant to just go in & scrape & sand those pots today, but I never did get to it as I started this new one, and another one that I forgot to take a picture of... it was outside drying.  Out of sight, out of mind you know.
:)


Another class was starting, so I had to get out of there before I was finished... Drat! I tend to get too many things going at once, which makes me dream again of that studio space where I can work all day with no interruptions!
:)

Saturday, April 9, 2011

Works in Progress!

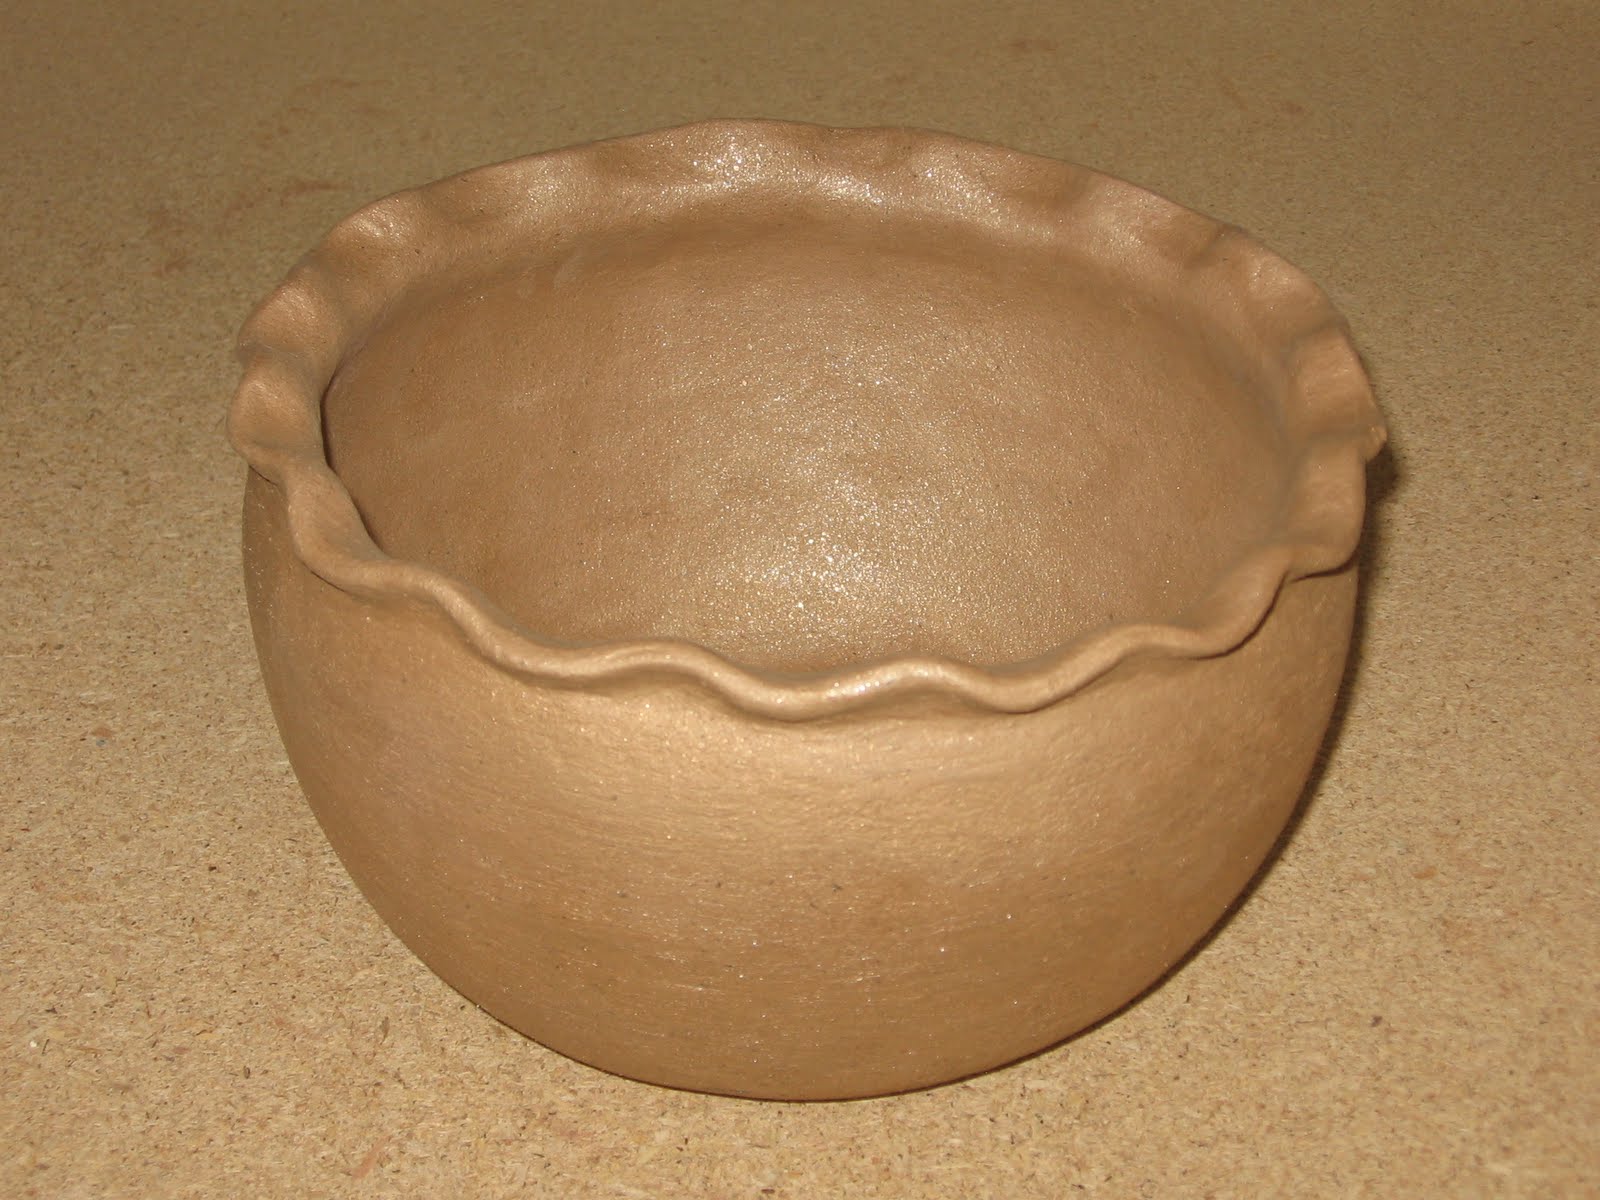
Well, I'm happy to report I'm getting into the swing of things in my micaceous pottery class. Each pot/bowl is hand built using the traditional coil method. These are all works in progress-  they still need to be scraped, sanded, burnished, slip applied & fired (whew! that's a lot of steps to go!) But I am so excited about it, I thought I'd post anyhow.
:)
Our first project was to make a bean pot. I had some trouble with shaping on this one, as the way I had learned before was to use a paddle which helps guide the clay into shape. But, we are learning the more traditional way of pot making, in which paddles are not used... only small wooden ribs. That said, I'd say my first effort wasn't too bad.


Our 2nd assignment was bowls. I had a lot of fun with this assignment, and had the time to do a few of them. I'm thinking the bowl below would work well as a rice dish, or some other sort of side dish.


Below left, a decent sized serving bowl~ perhaps for salad.
Below right, same style, only smaller.


Today the fun really began, as I had the day off & it's open studio time... so I could just go in & work on whatever I wanted. And I really wanted to work on symmetry with this new (to me) method. (After all what is a wooden rib but a tiny little paddle!) It actually went quite well, and I decided to go for an enclosed form~ which will later be a lidded pot. There is something about the roundness of this form that I find soooo appealing!


I experimented with different types of handles for the lid... but not quite coming up with something I liked, I thought what the heck... I'll use a bear for a handle! (Ha! Not surprised one bit are you?!) 


It's actually a little large for the form, & I thought about starting over & making it smaller, but then thought nope- I'll just leave it as is... perhaps it will make for an interesting piece. 
:)

Wednesday, April 6, 2011

More Clay Class Stuff...

Just got back the fired/glazed 2nd big bear project. If you missed it, you can see the process of it being built here. It's a little lumpy & bumpy, but overall I like it. Out of the two larger sculptural forms I've done, this is the only one to make it through 2 firings start to finish, so that in itself is pretty cool. Though I have found I have far less control over the clay when attempting larger/hollow pieces.


Below is my second attempt at the "inside out/outside in" project I was working on for class. I was actually quite happy with this one... it came out much more like my original idea/sketch than the first attempt.


And remember all the work I did on the "magic clay" testing? Down the drain... the underside cracked like crazy during the drying process! Oh well... it was a learning process... at least I know now what not to do. (Now I just have to figure out what to do!)


In other clay class news, I seem to have settled into the fact that from start to finish, it generally takes many weeks to get work back, and I feel I've been a bit more patient in that arena. I also started my Micaceous Clay class last week (see pots on the side bar from the class I took last fall)  but am not much liking the pot I'm working on. :(  Interestingly, I am finding the teaching styles & techniques from my previous instructor to the one I have now vary quite a bit, so it almost feels as if I am starting from scratch, and I'm not at all achieving the results I'd like! It's a "short session" class~ only once a week (all day) for 7 weeks, so I hopefully I'll get the hang of this different method soon. I want to make gorgeous big pots, not asymmetrical, lumpy ones! I'll keep y'all posted.
:)

Thursday, March 31, 2011

Bear/Cityscape Results

Remember that architectural assignment I did waaaaay back in February? (click here.)Finally~ the long awaited results!


I have mixed feelings about it. It was a success in that it didn't blow up in the kiln, and I do like the concept behind it, and quite enjoy the shape of the forms. But, we are doing low fire for this class, and the low fire glazes that are available to us I am not super-duper crazy about. I do think the bright colors make it appear a bit more whimsical, but I also feel it gives it an adolescent feel.(Whereas some of my pieces I adore, & have about the house, this seems more appropriate for a children's room.) I tend to prefer a bit more natural color, and it makes me wonder how I'll go about glazing my next project. I guess in part, that's why we take classes, to find out what works & what doesn't... what we like & what we don't. I may however, revisit the concept again at a later date.
:)

Saturday, March 26, 2011

One Finished Piece & More "Magic Clay" Testing


Finally! A finished, fired, glazed piece! I was quite happy with the way it turned out, though it's not very large, perhaps 4 inches tall & 6 inches long. I used a clear glaze on a white stoneware clay body. Though I got it back right before spring break, I'm just getting around to posting... as I have been working a ton this week! In the evenings, I have been trying to muster up a bit of creative energy to work on further Magic Clay testing. I would say it's highly likely this next piece blows, as I believe I was pushing the boundaries a bit in terms of what I think this clay can do.
Day 1:
Rolling out tubes (which will be legs & body)
& letting them dry. 


Day 2:
Moisten dry body, slip & score, add more clay...


& add the legs.


All legs attached, now we have a loose bear form.


Scoring the form for addition of more clay.


Day 3:
Adding more clay to try to shape the bear. At this point in the process, I could see it would have been more helpful to have started w/ more than random hollow tubes & given more thought to the final form. It's legs were too long & the body a bit short. 


Day 4:
Finishing up. It is in times like these that I have some serious envy of those of you that actually have studios! (Or homes, or garages, or space!)My impromptu "studio" set up in my apt takes up about a 3rd of my tiny living room space!(And makes for some serious clean-up afterwards!)


The semi-finished bear. I definitely could've kept going on this piece... but I had already added so much clay, and I could tell I wasn't going to get it to look the way I wanted due to my lack of pre-planning.


Plus, supposedly, you are able to go from dry clay to wet, (if you moisten, slip & score) which you cannot do w/ "normal clay," but I have some serious doubts to whether this will actually work & really didn't want to spend much more time on it if the chances are high that it won't work!


So, we'll see what happens. It'll likely take weeks to find out, so I guess I'll just have to start another project...
:)


Saturday, March 19, 2011

Magic Clay & New Assignments

A friend of mine had recommended to me a paper-embedded clay called Akio that is supposed to be great for larger sculptural works... apparently you can build thicker walls, & experience less cracking, which would be awesome. Problem is, I couldn't find it here. And to pay for shipping from the Pac Northwest... well, that wouldn't be cost effective!


But, as luck would have it, they had a similar product called "magic clay" @ NM Clay in Albuquerque. It's a fiber embedded clay that is supposed to have those same magical qualities: less cracking, more forgiving AND supposedly you can build wet to dry... thus you don't have to worry as much about keeping the clay at a uniform moisture level, which I had some difficulties with on the previous larger works I attempted. I peeled off a strip so you could see the fibers. What a trip, huh? It's like furry clay! :) When the clay is fired, the tiny fibers burn away, leaving just the clay body behind.


Well, I had really been wanting to try this new clay, but had been busy w/ other class assignments (w/another clay body) & life in general, so it has been sitting & waiting. We were given our new assignment (loosely based on the concept "inside out- outside in") so i decided to try this magic clay w/ one of my 2 ideas. I wanted to incorporate the bear in this project, and when I was out hiking the other day, an idea came about making a woman emerging from a bear form. Now, I thought this was an original idea, but it also felt very familiar. A woman in class & I had been talking... a conversation originating from my previous bear projects, about how she had heard that if a bear was skinned, it looked very similar to a human form. I thought the idea I had was perhaps related to that conversation... a relationship between human & animal form, and incorporating the concept of bringing the inside (human form) out. But here's an interesting thing about making art- we are very often influenced consciously or unconsciously by other artists. After several days of thinking, I looked up some Kiki Smith images and found very similar subject matter. But I wanted to go with it, because I did like the idea,  & I've never tried to sculpt the human form. Oh, Geesh, here's some of my sketches so you get the general idea of where I was heading.


Below, building a rough human-like form. Behind it are the bear legs, but I couldn't get it to look quite right, so had to improvise from the original sketches.


Addition of head, arms & bear head, which is hollow & hangs off the side. If you're wondering what that thing is hanging of the left arm, it's supposed to be bear skin ( c'mon, use your imagination!) And the left leg... well it blends into a bear's hind foot, of course!


Addition of hair & attempting to sculpt the body a bit.


The semi- finished piece below.


It's very rough,amateurish, and of course featureless (I need to take a class on sculpting features!) but there's something about it I really like. I think it's actually the "unfinished" look it has to it... the way the woman's legs are not complete, as if she's rising up. Plus, it's a starting point, as well as a test of the Magic Clay. 

Tuesday, March 15, 2011

For Japan...

Sending Wishes of Love, Compassion & Healing


In the wake of the Natural Disaster of the 8.9 Earthquake, and subsequent Tsunami that have struck Japan, as well as the ongoing threat of Nuclear Meltdown... my heart goes out to the people of Japan. The loss, the destruction, the terror are almost unimaginable. Here I sit far away in America, wondering what in the world could I possibly do to help? The only thing that I could think of, besides sending thoughts & prayers, was to donate money to an organization that has the power to really make a difference. And I think they really need support at a time like this. At first my thought was: but yeah, how is my few dollars going to help? Then I started thinking about how much could I give. Well, I figure I could do about one hundred bucks on my student budget. Still, what difference would that make, really? BUT!!! Then I started thinking about the population of the country that I live in. Now, yes, we are in tough economic times... but unless you have lost your job, I figure almost everyone could spare as little as 5 bucks (or 10, or ???) Now if you multiplied that 5 bucks (or 10, or ???) by 300 million (roughly our population) or so... now, that has the potential to make  a HUGE difference! I've put together a little list of reputable organizations... just click on the links below. I've decided to go w/ Mercy Corps. There is also a list of artists below that are donating their work for sale/auction w/ the Proceeds going to Non-profits to assist Japan in their time of need. Please consider helping if you have not already.

Mercy Corps: (be the change.)
https://www.mercycorps.org/donate/japan?source=55400&gclid=CNzNuKOU0qcCFcpQ2godCnxl_Q

Habitat for Humanity:
https://www.habitat.org/cd/giving/one/donate.aspx?link=353

Red Cross:
http://www.redcross.org/portal/site/en/menuitem.1a019a978f421296e81ec89e43181aa0/?vgnextoid=

Salvation Army:
http://salvationarmyusa.org/usn/www_usn_2.nsf


Artists Donating works for Sale/Auction for Japan:


https://www.facebook.com/handmadeforjapanauction?sk=wall

http://burntnormal.blogspot.com/2011/03/contribution-to-japan.html

http://elizabethavedon.blogspot.com/2011/03/life-support-japan-auction.html

This is obviously just a small list & there are many more to be found. I was just hoping to present some ideas on how a little gesture can make a big difference. Thanks for reading & considering, and 

Please, pass it on!

♡♡♡

"You can do no Great Things... only Small Things w/ Great Love."
                      ~Mother Teresa